 |
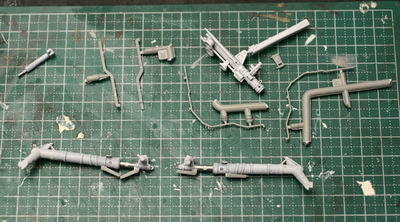
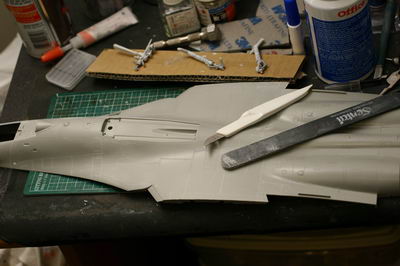
足回りはスプリングのギミックをちゃんと動かしたい。しかし説明書どおりでは、ヒンジなどを接着しなければならず、トランペッターの意図が理解できない?すこし改造することでスプリングギミックを生かす。もうアウトオブボックスは辞めた!! I want to make the spring gimmicks around the undercarriage legs work. If you assemble according to Trumpeter's instructions, you have to glue the hinge, something I can't fathom the meaning of. With a bit of modification work, you can get the spring gimmick to operate. I guess that's the end of any further out of the box ambitions! |
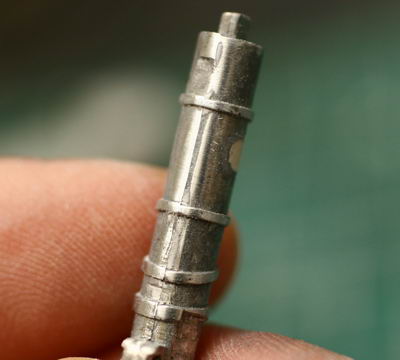 |
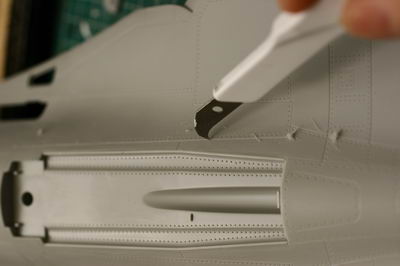
まずは主脚のライン消し。カッターを立てて削り取り、溝はパテで埋める。 First, remove the undercarriage leg seams. A cutter blade held normal to the seam and direction of scraping should suffice, and putty used to fill any mold imperfections. |
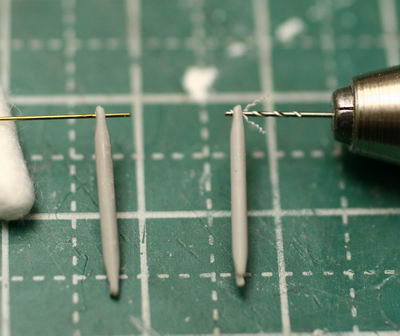 |
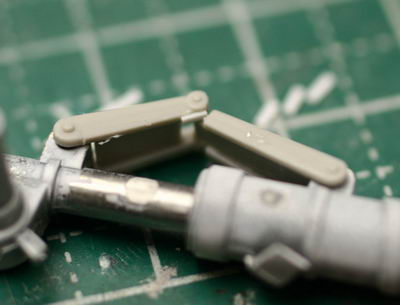
改造1:前脚カバーの支柱は穴をあけて真鍮線を軸にしてやる。 First modification: open the hope in the nose wheel cover main support, and make a hinge from brass rod. |
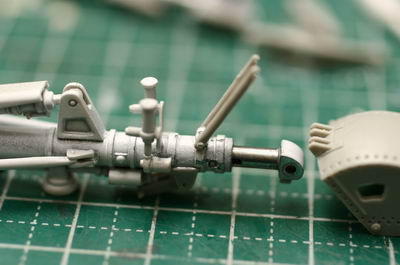 |
すると After you have done this, |
 |
動く。カバーとの接続は上から置くだけとする。 it operates. Just place the supports on the top of the cover. |
 |
改造2:このヒンジもそのままでは、動くたびに外れてしまう。小さなプラスチック片で開口部をふさぐ。 Second modification: As it stands, this hinge separates each time it moves. I use a small piece of scrap plastic to block the opening. |
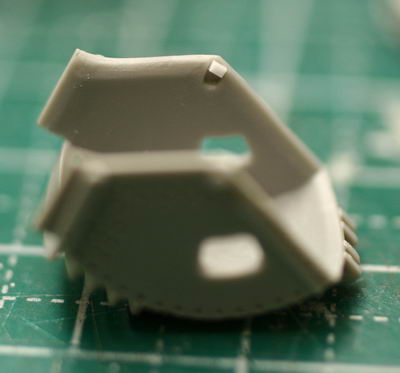 |
改造3:こちらもプラスチック片で外れないように工夫。やすりで整形すれば目立たない。 Third modification: Here too I use scrap plastic to prevent separation. If you adjust the shape carefully it will not stand out. |
 |
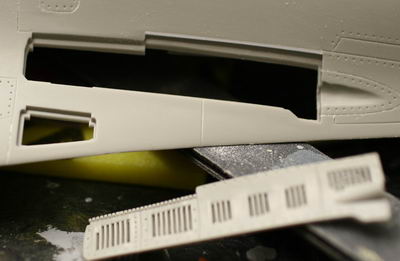
エアーインレットと胴体の継ぎ目。エアーインレットが内側に変形している。 The air inlet and fuselage joint. The air inlet changes shape on the interior. |
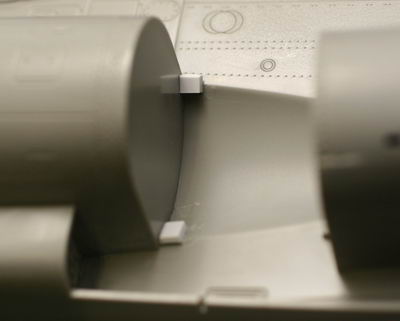 |
このように内側から支えてやる。完全に乾くまで次の作業にいく。 I show how I support it from the inside. I only continue after the glue has cured thoroughly. |
 |
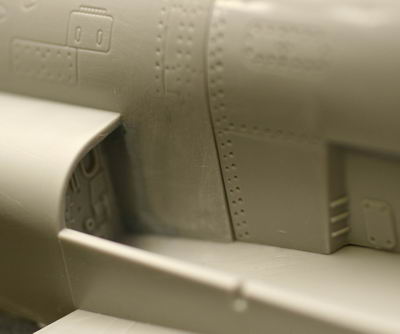
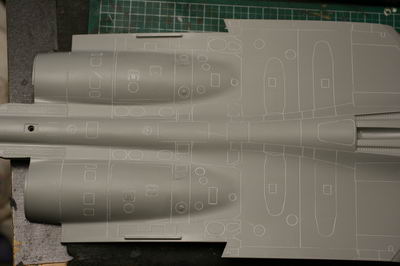
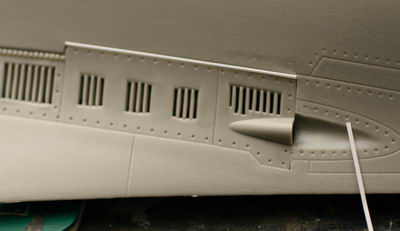
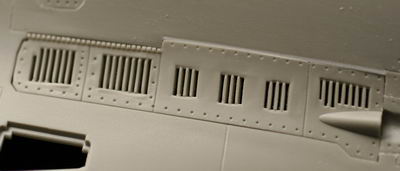
内側にまるまっている部分のパネルラインが浅いので、掘りなおしたところ、他のラインも甘い事に気づき、どうせならと、すべて彫りなおした。 Lines on concave surfaces are shallow, so I scribed them deeper. I then decided that other lines too needed improving, and ended up rescribing the lot. |
 |
飛行機キットの箱を開ける時、まず自分が確認するのがパネルライン。この作業があるかないかでキットを作るかどうかを決めているといっても過言ではない。今回は、一見必要ないと思い(騙された!)、これは速攻だと喜んだのもつかの間、いざ始めてみると彫りなおしとなった。甘いラインを見過ごせない悲しい性。。。。 It is no exaggeration to say that I decide whether a kit is worth building on opening the box and examining if the panel lines need to be reworked or not. In this case, I had taken a quick glance and thought that all was in order (caught out there!). A quick job turned into a long drag. I am a victim of my inability to overlook ill-defined panel lines.... |
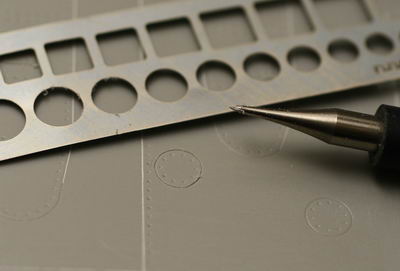 |
丸いラインはテンプレートで Circular lines are scribed using templates. |
 |
彫った後に1000番のペーパーをかけた。削り粉がたまって線が白く見える。 After rescribing I use 1000GSP (grade sand-paper). The white sanding residue can be seen in the panel lines. |
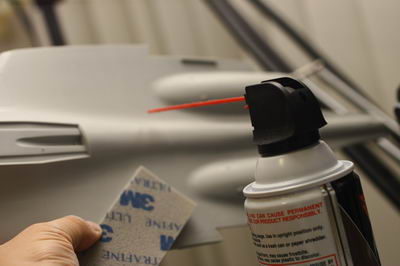 |
エアーブロアーで粉を吹き飛ばす。頑固なものはスクレーバーで掘り出す。 I use an air blower to remove this residue. Really tough residue is taken out with a scraper. |
 |
昨日の課題:xxmm x xxmmのプラ材を隙間に挿入。接着する。 The problem faced yesterday: I put xxmm x xxmm scrap plasticard into the gap and glue it. |
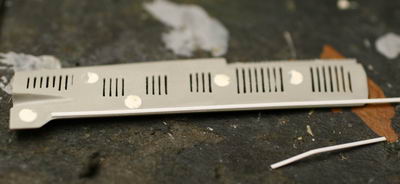 |
カバーは薄すぎて段差ができるので、下の端に同じプら材を接着。 The cover is too thin, so the joint becomes a step. To remediate this, I glue more of the same plasticard to the underneath. |
 |
やすりで表面の段差を削り取れば、 With a file I remove the step in the joint. |
 |
きれいに決まった! There we go, beautiful! |
 |
車輪を片付けないと先に進めないので、早めに塗装する。色は写真の2色を混ぜた。 I cannot go forward without assembling the wheels. I paint them as soon as possible, using the 2 colors seen in the photograph. |