 |
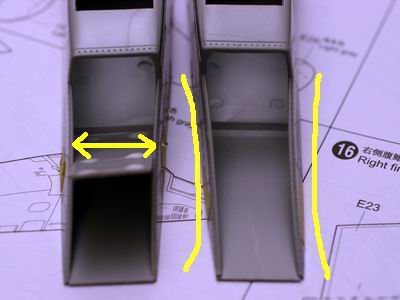
ここの隙間は目立ちそうなので、パテで埋める。 This gap will be visible. Put putty and erase it. |
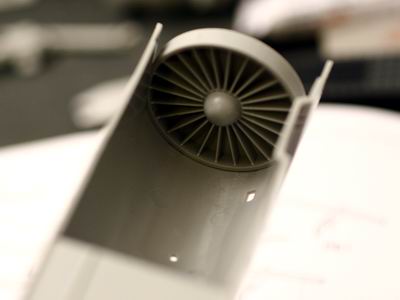 |
エンジンのフィンは下の写真のようにまったく見えなくなるが、補強の意味で塗装無しで接着しておく。 Although the engine fin will be totally in-visible as shown in following photo, Glue it just as a supporter without painting. |
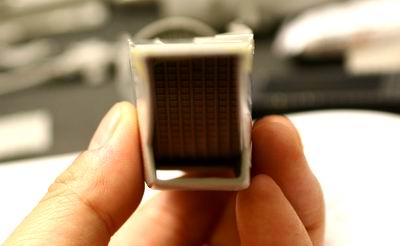 |
この網はなんだ?鳥防止?? What is this for anyway? Is this an bird protector? |
 |
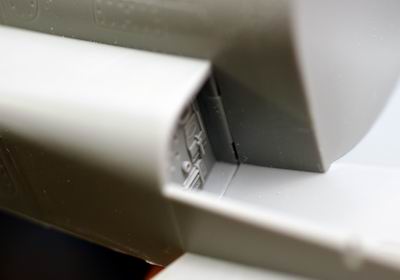
こちらのピンマークはよく見えてしまうのでパテで生めて消す。 Put putty and erase these pin marks. |
 |
エアーインレットは湾曲しているので、指で丁寧に曲げて補正する。本物が曲がっているわけではないですよね? The edge of the air inlet is bent like this. Make it straight by pressing finger. |
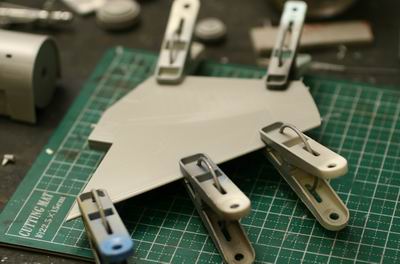 |
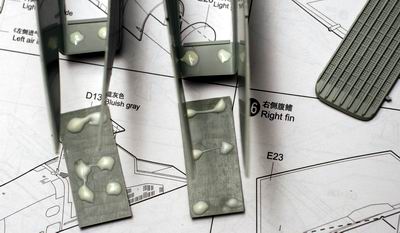
尾翼の接着。 Glue firmly horizontal stabilizer. |
 |
合わせ目はパテを塗りつけ、割れ目はきれいに消してやろう。 The gap must be cleaned by putting putty. |
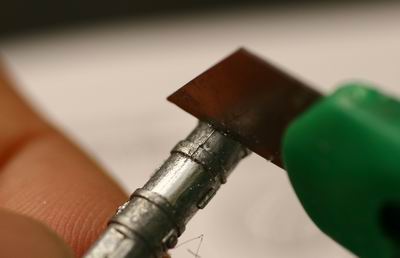 |
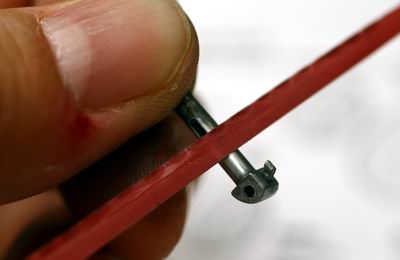
足の継ぎ目線はカッターをあてて削る。平らにならないように注意。線を削っても凹みがあるものはパテで埋めて整形する。 The mold line on the metal gear should by cut by a cutter knife. Even cut it clean, some parts have trench along with the line. Put putty in and erase it. |
 |
フレックスやすりは局面の磨きに最適。 Flex filer is very handy for curved surface. |
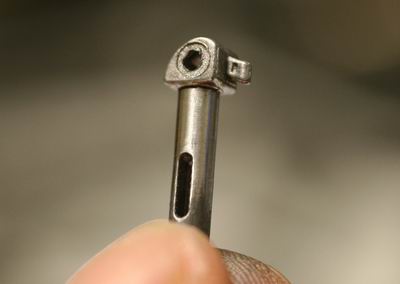 |
ご覧のようにきれいな「金属面」に仕上がる。 Look this "metallic" finish by just sanding.. |
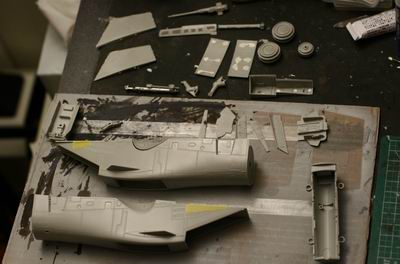 |
本日はここまで、ご覧のような進展。 パテは盛っただけで、明日以降、乾燥後に削る。 Call it a day! I have just put putty. I will sand putty off tomorrow after cured. |