 |
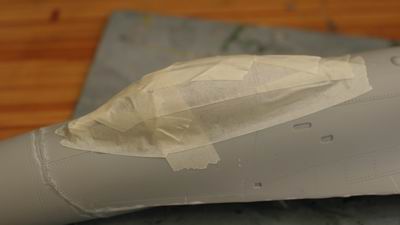
胴体を削ったり、加工していると完成部分を傷つけてしまうので、マスキングテープで蓋をする。 When sanding and correcting errors on the fuselage it is quite easy to damage already completed parts, so I masked these with tape. |
 |
同上。前脚部。 The same here, for the fordward wheel bay. |
 |
放電管は厚紙で保護。しかしその後1本ひっかけて失くしてしまった。 I protect the static dischargers with cardboard covers. However, one of them caught on the carboard and I lost it. |
 |
ノーズコーンの接着ラインも瞬着でうめて、ラインを彫りなおす。 I fill the nose cone gap with instant glue, and rescribe. |
 |
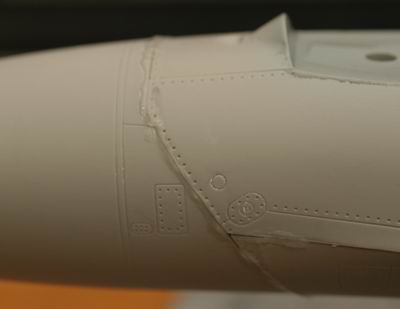
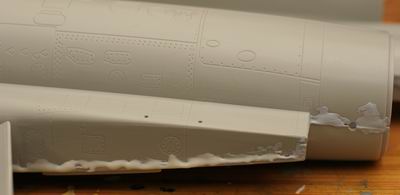
主翼付け根左側。翼を押し下げたので、ギャップが大きい。瞬着をてんこ盛り。 The left wing to fuselage joint. I forced the wing down, so there is a gap to be filled. Instant glue is just the thing for this. |
 |
右側はほぼギャップなし。溶きパテを置いて、、 On the right side there is virtually no gap. I sue some liquid putty, ... |
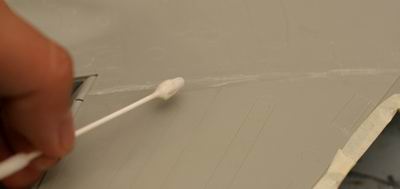 |
イソプロピルアルコールで拭い取れば、処理完了。 ... and wipe off the excess with earbuds dipped in isopropyl alcohol. |
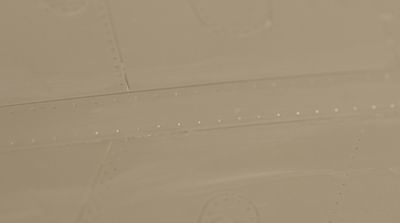 |
こんな感じ。 This is the result. |
 |
段差修正。 Here I take care of a step joint. |
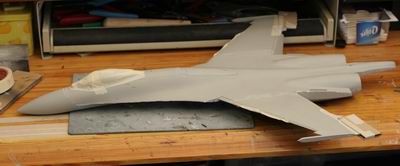 |
やっと形になってきた! At last, the beast is taking shape. |
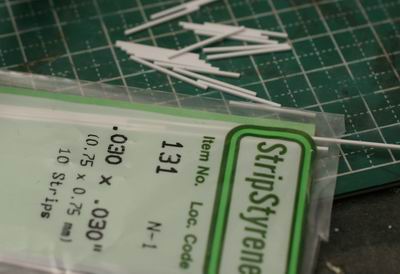 |
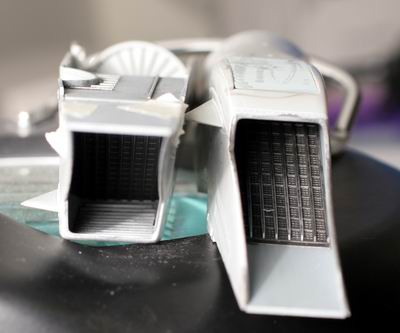
ロックオン写真集によるとインレット下部はジャバラ。アウトオブボックスを諦めた私は、エバーグリーンでディテールアップ。 According to the "Lock On" photos the underside of the air inlets in sieve-like. Having discarded all thoughts of out of the box, I detailed the area using Evergreen strip styrene. |
 |
0.75mmx0.75mmの角材を等間隔にならべると。 I laid 0.75mmx0.75mm square styrene strips equidistant. |
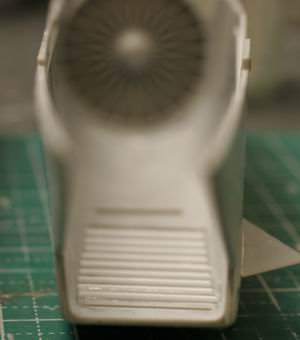 |
正面から見れば、立派なジャバラ! From the front it looks very like a very convincing sieve! |
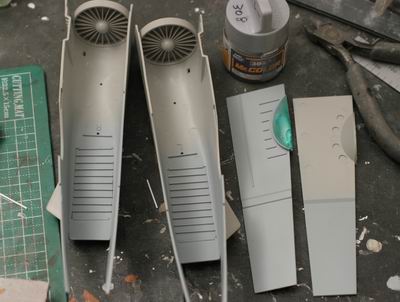 |
ライトグレー指定にはMr.カラーの308番を選択。 I used No.308 for the light grey areas. |
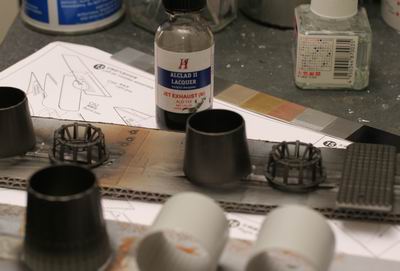 |
鳥防止ネットにアルクラッドのジェットエグゾーストをエアーブラシするついでに、他のエンジン部品もついでに塗装。 I airbrushed the anti-bird shields with Alclad Jet Exhaust, and also other engine parts at the same time. |
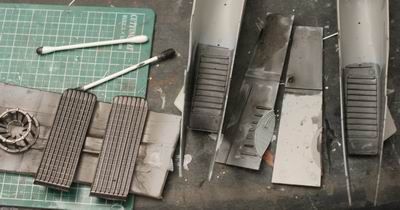 |
エナメル黒でウォッシング。 A wash of enamel black was then applied. |
 |
余計なエナメルを綿棒で拭き取った後、クロムシルバーでドライブラシ。 Excess enamel was removed with earbuds, and chrome silver dry-brushed. |
 |
こんな感じになりました。 This is the end result. |
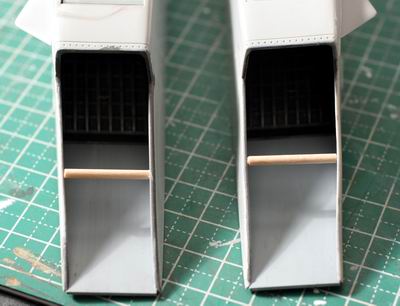 |
ゆがみを爪楊枝で引き続き矯正。 The little bit of warpage was corrected with toothpicks cut to size. |
 |
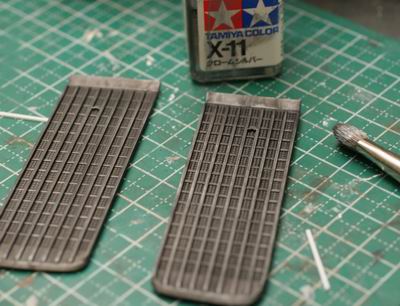
主脚格納庫も塗装開始。 I started painting the main landing gear bays too. |