 |
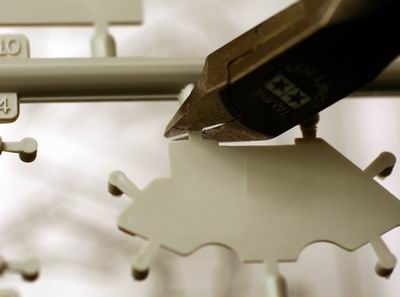
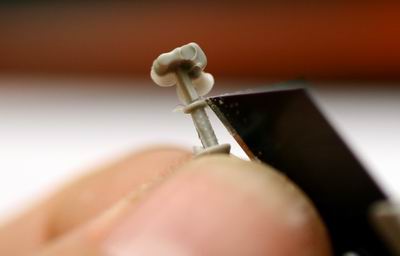
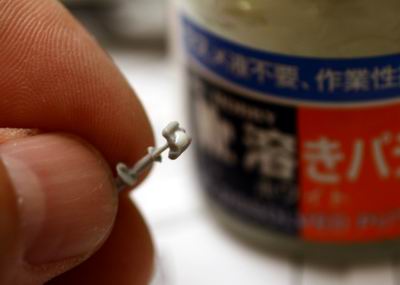
部品の切り出しは丁寧に!部品から離れた位置でゲートを切断。 Be careful not to damage the parts. Cut the middle of the gate. |
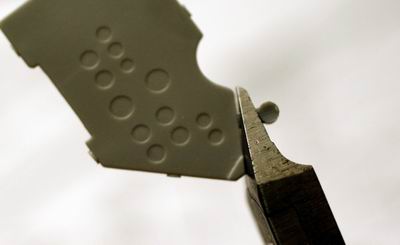 |
そして、ニッパで頭が残るように少しだけ切り取る。タミヤの薄刃ニッパを愛用している。 Then cut little more the gate with a nipper. I love Tamiya's fine nipper. |
 |
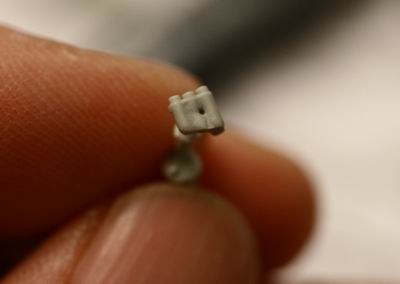
最後にやすりで削り取る。320番から始めて800番くらいでフィニッシュ Finally, sand it out by sanding tools. I use #320 -#800. |
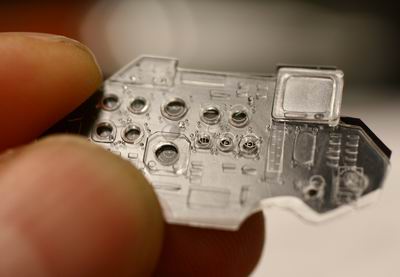 |
せっかくの透明パーツは厚すぎて、メーターパネルが引っ込んでしまう。薄くしてメーターを見やすくする。 Nice clear parts is too thick to see the instrument meters. I sand it thin. |
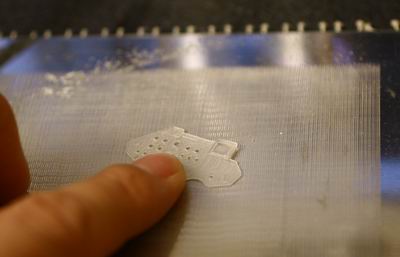 |
平面やすりで薄く削る。裏面のピンマークもこれでうまく消える。 Sand by sanding plate. It can also remove the pin marks backside of the parts. |
 |
コンパウンドで磨けば、、 Then polish with compound. |
 |
ご覧の通り。 You can get such a nice thin panel. |
 |
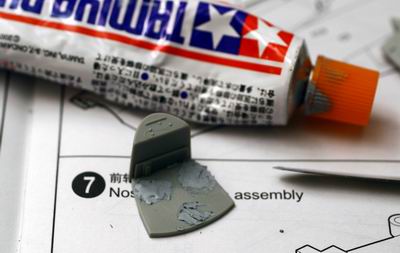
はみ出しはカッターできれいにそぎ取る。あの山田先生のお勧めで、薄刃カッターを使っているが、大変重宝している。何を切るにも薄刃は綺麗に切れるのだ。是非試して欲しい。 Cut unwanted plastics "flash" by cutter knife. Japanese most famous modeler Mr. Yamada suggested me to use this thin cutter knife. I really amazed it You can cut any plastics very shapely with it. Try it!! |
 |
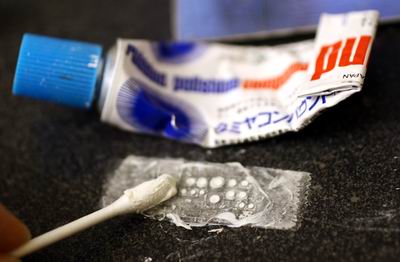
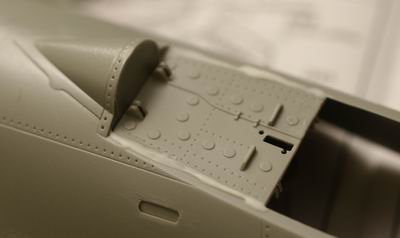
最近の日系キットではあまりお目にかかれないへこみ。 You can hardly see this kind of mold in resent Japanese kits. |
 |
パテをもっておいて、明日にでも整形してやる。 Put putty on it and sand tomorrow. |
 |
”Bluish Gray”と説明書に書かれている内装部分は組み立てられるものは組み立て、一気に塗装する準備をしておく。 I assemble all "Bluish Gray" parts as much as I can. I will paint all of them at a time later. |
 |
前脚格納庫も"Bluish Gray"指定だから、先に組み立てる。 Front gear bay is also instructed to paint in "Bluish Gray", I assemble them. |
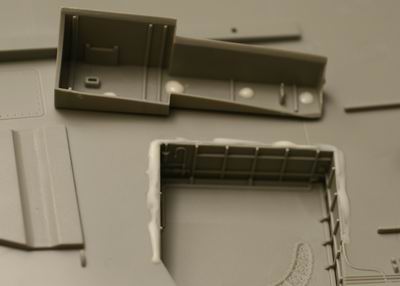 |
この辺も先に組み立てる。メインギア格納庫内の配線は、別に塗装してから組み立る。 These parts are also "Bluish Gray". I will paint the wires separately and then put into the bay later. |