 |
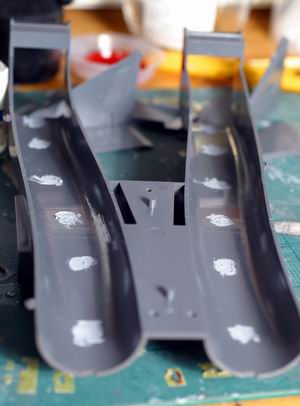
エアーダクトは最初からあきらめた。しっかりと刻まれたピンあとだけを消すだけにとどめ、まずはパテもり。 I decided to leave parting line for air duct and just remove pin marks. First of all, put putty on those holes. |
 |
乾燥したらサンドかけ。150番で荒削り、その後400番、800番、1200番でフィニッシュ。 After putty dried out, sand with No.150 paper then 400, 800 and finish with 1200. |
 |
白のプライマーで下地処理後、Mr.カラーの白でをエアースプレイ After undercoating with white primer, spray Mr. Color white. |
 |
ついでに他の白塗りも Paint other white parts as well. |
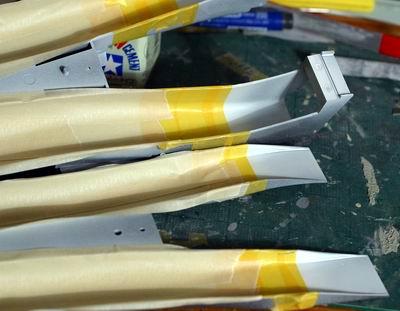 |
塗り分けのためテープでマスキング。境界はタミヤの高いテープで、その他は米国の安いマスキングテープでカバー Mask with Tamiya's expensive tape for the border. Use US's cheap tape for other part. |
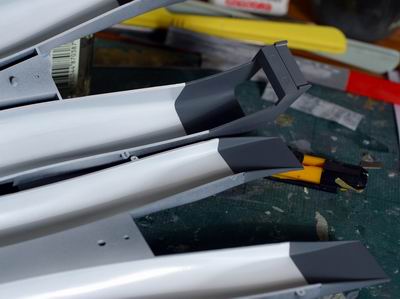 |
Mr.カラー305をエアースプレイ Spray Mr. Color 305. |
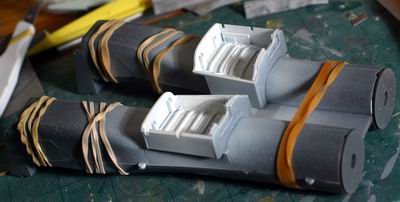 |
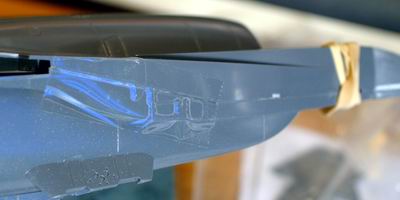
輪ゴムでしっかりと接着。境界ができるだけ目立たないように、、 Tight with rubber bands in order to discreet parting line as much as possible. |
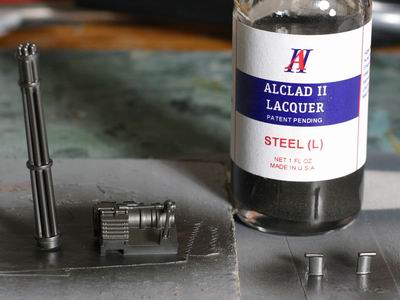 |
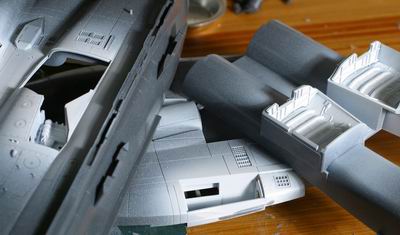
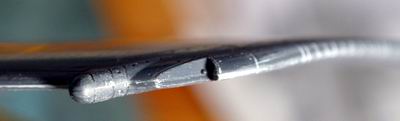
機銃にはアルクラッド2スチール Use Alclad II Steel for Gun |
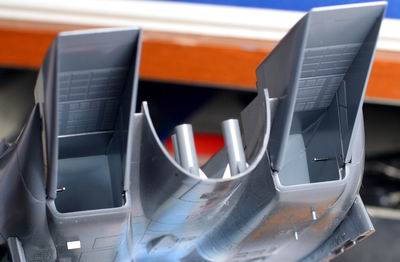 |
写真では見にくいが、やはりダクト内の分割ラインは気になる。誰かうまいやり方を教えてください。 You can't see it in this photo, but the parting line bothers me. Suggestion, anybody? |
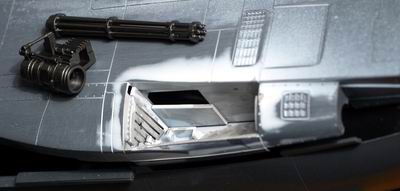 |
機銃チェンバーもエナメルウォッシング Enamel wash the on the gun bay. |
 |
いよいよ上下ボディーの接着 Now glue upper and bottom body parts. |
 |
輪ゴムで圧着できない場所はセロハンテープでカバー Use regular tape for hold the glue joint as supplement of rubber band. |
 |
ウイングのつなぎ目などは筋彫りが甘い Carved panel lines are dull especially in the boundary of wing. |
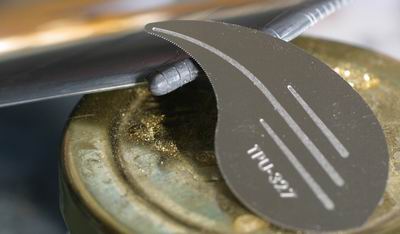 |
このような曲面にはハセガワの筋彫りツールがナイス Re-scribe those lines with Hasegawa's carving tool. It's nice for such a curved surface. |
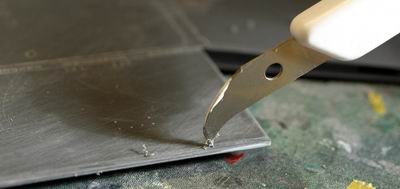 |
サンドかけして浅くなった直線も筋彫り。 Re-scribe those lines which were shallowed by sanding. |