 |
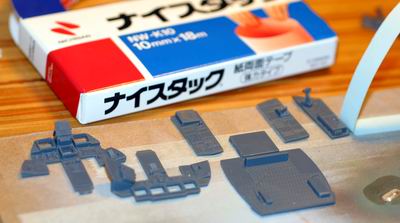
塗装の準備。台紙に両面テープで固定する。 Preparation for painting. Using double-sided adhesive tape to fix plastics. |
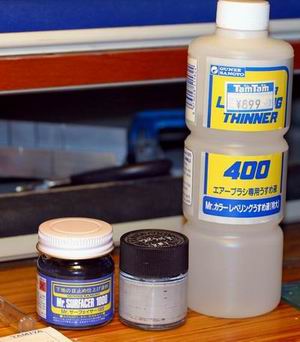 |
プライマーは、薄め液と1対1の割合で調合。 For undercoat, I mix Mr.Color thinner and Mr. Surfacer 1000 1:1 ratio for hand spray. |
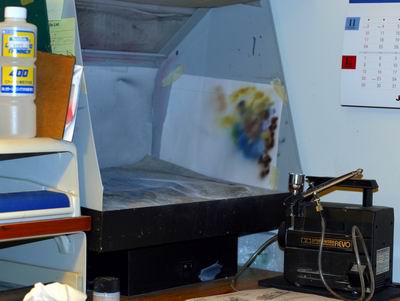 |
タミヤのハンドピースとテスターのペイントブース。ペイントブースは窓の前に設置してあり、窓枠には換気扇がある。 I use Tamiya's hand piece, compressor and Testor's Spray Booth for air brushing. Behind the booth, there is a fan which installed in the window |
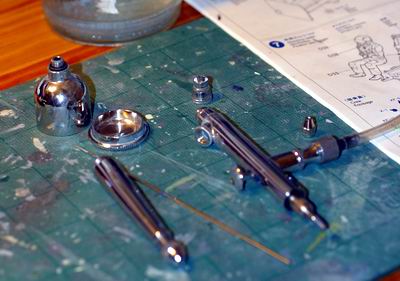 |
久々の塗装の前には、分解して清掃。 After long recess, de-assemble and clean up hand piece! |
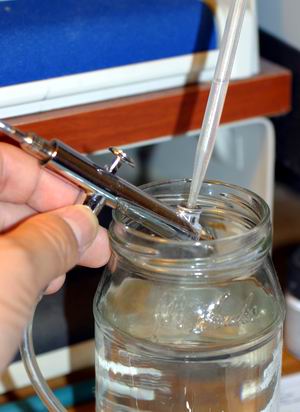 |
シンナーでよく洗い流す。 Wash well with Lacquer thinner |
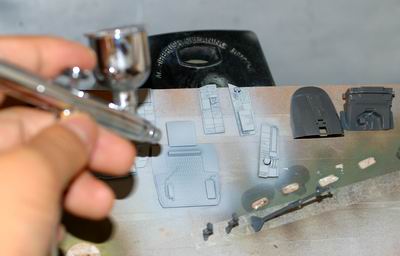 |
薄めのプライマーを吹き付ける。スプレーだとコックピットのような精細なモールドがつぶれてしまう。 I do not use spray can primer for tiny detailed parts such as cockpit panel. Too much paint build up can dull any details. |
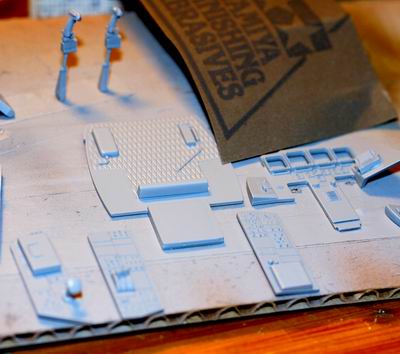 |
プライマー乾燥後、ほこりなどの異物を1200番程度のやすりで削り取る。 After drying, sand any tiny dust with No. 1200 sanding paper. |
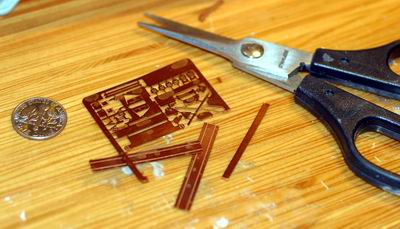 |
座席用のエッチングの切り離しにはエッチング用はさみが重宝。 I do not use cutter knife for removing etched parts. Etching scissors are good for it. |
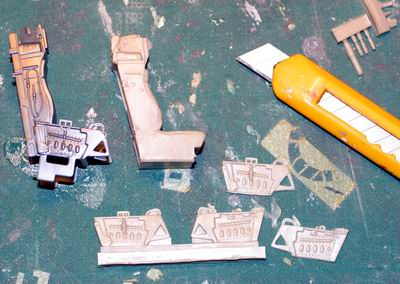 |
レジン部品の切り出しはカッターや模型用のこぎりで。 Use knife or model saw for cutting resin parts |
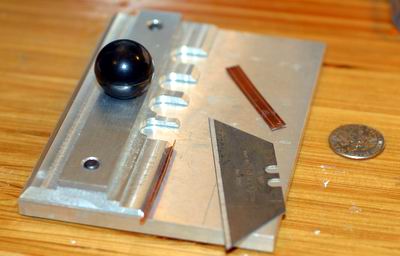 |
これは重宝!エッチング加工用ツール。 This is the best modeling tool for bending etched parts. http://www.thesmallshop.com/ |
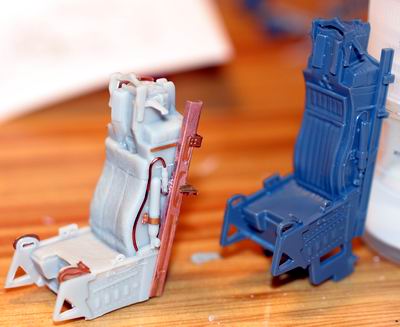 |
ベルトはあまりに細かいので断念。2名の乗員のうち1名だけを乗せる予定なので、シートベルトは省略。乗らない方の座席用にCutting Edge Modelworks 社のベルト付レジンシートをオーダーした。 Seat belt is too tiny for me. I gave up attaching it. Instead, I ordered CEC's resin seat with belt molded. I will use this seat with crew and the CEC without crew. |
 |
このダルなモールド。パーティングラインのすごいこと。 Such a soft mold and such a hard edge of parting lines! |
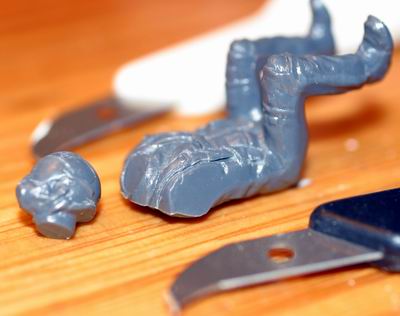 |
ラインを消し、シートベルトの下などを削りこみモールドをシャープに。 Shave parting lines and sharpen details by scraping under seat belt |
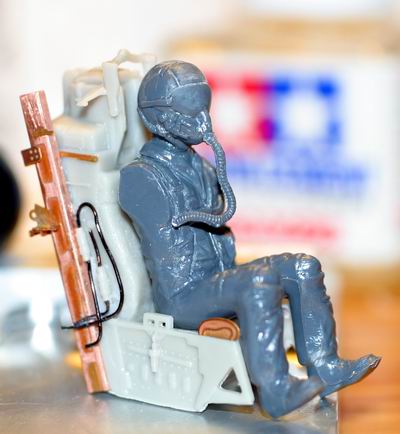 |
こんな感じ How's this? |
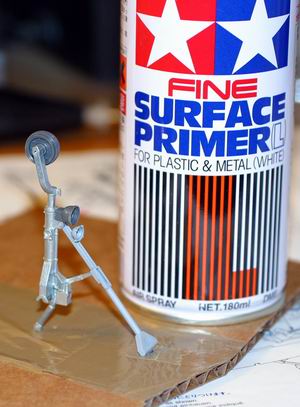 |
金属部品には専用プライマーを I used Tamiya's can spray for metal parts. |
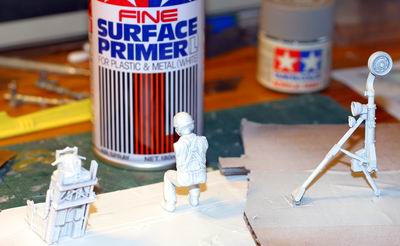 |
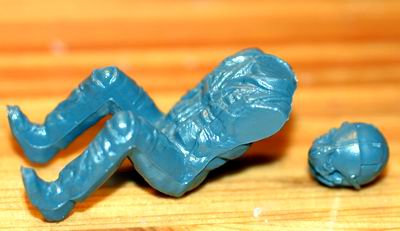
シートのついでに乗員も真っ白に Crew is also primered in white! |
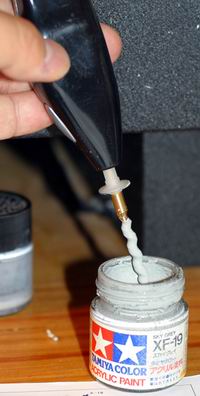 |
いよいよ塗装。このかくはんツールはとても便利。タミヤのアクリルはよくかき混ぜないと上と下の色が違う! Let's start painting. This paint mixing tool is awesome. As for Tamiya's acrylic watercolor, top and bottom color are different unless you mix well. |
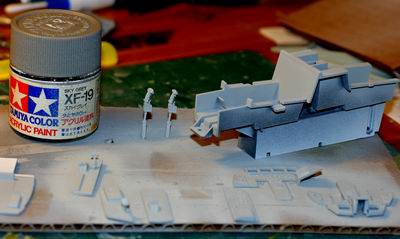 |
コックピット内部のベースはXF−19で完了。次はいよいよ塗り分け。 Base color for inside cockpit is painted with Tamiya's XF-19. |