 |
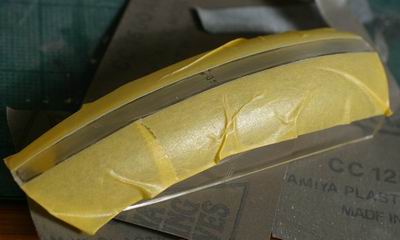
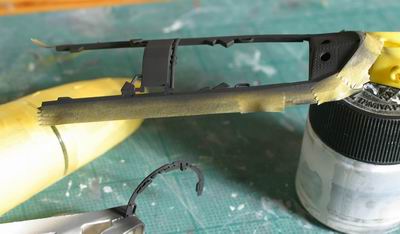
キャノピ上部のパーティション消しはまず、不必要な部分を傷つけるのを避けるためマスキング。該当部分だけをまず400番でサンディング、その後800番、1200番、1500番、2000番で均す。 To remove parting line of center top canopy. Mask unwanted part. Sand with No. 400 first, then 800. 1200, 1500 and 2000. |
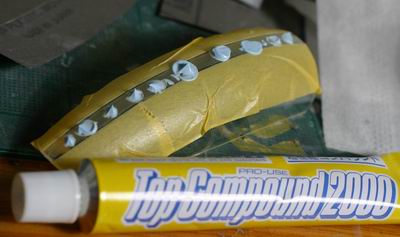 |
最後はコンパウンドをつけ、ティッシュで磨く。 Finally, put compound on it, and rub with tissue paper. |
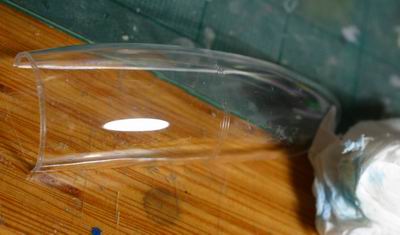 |
するとご覧の通り何事もなかったように。消えたフレームの彫刻はすくレーバーで彫りなおす。 It's magic, huh? Re-scribe erased line of frame. |
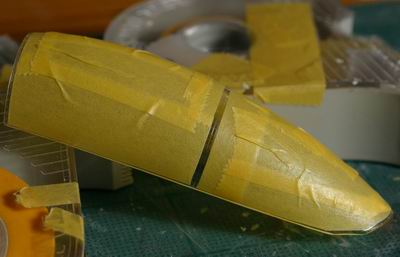 |
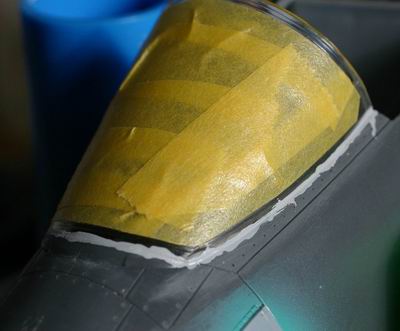
フレームの塗装の準備。マスキングテープでマスクする。 Prepare for paint, Mask with Tamiya masking tape. |
 |
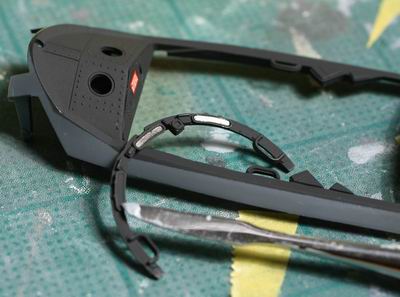
風防下のフレームをタミヤアクリルつや消し黒でエアースプレイ。 つや消しはアクリル 金属はエナメル つやありはラッカー が基本。 Hand-spray Tamiya's XF-2 for the under frame of canopy. |
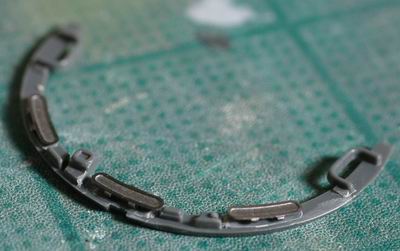 |
風防前フレームのバックミラーにはエデュアルドのエッチングを利用。接着は瞬間接着剤で。 Use super glue for the Eduard's rear view mirror. |
 |
黒の塗装後、ミラー部分は塗装を削り取れば金属が露出してそのまま使える Just by rubbing off the paint, natural metal shows up as a real mirror. |
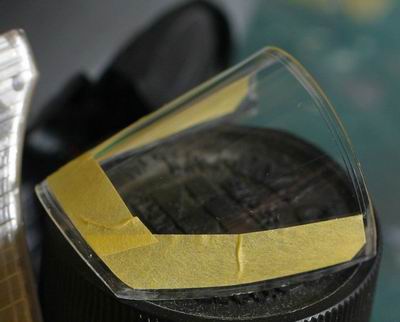 |
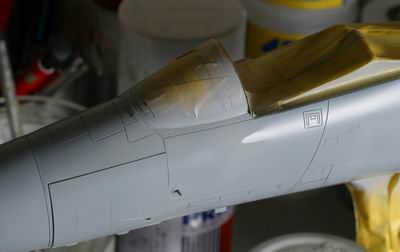
前風防のマスキング。縁は細いテープでマスクすると良い。 Use narrow type masking tape for the edge of windshield to easily fit the line. |
 |
マスキング後、ボディーに接着。接着剤は流し込みタイプが綺麗に仕上がる。乾燥後、継ぎ目をパテで埋め、丁寧にサンドがけ。 Attach windshield to nose with Tamiya Extra-Thin Cement. Do not use too much cement to avoid mess. After drying, put putty into the gap and then sand well. |
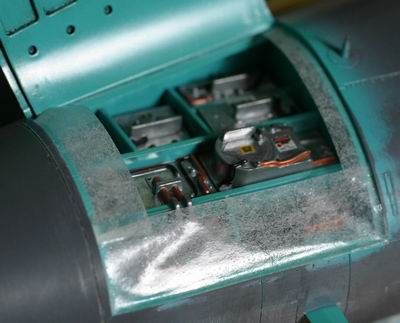 |
プライマーと塗装が入り込まないように、両面テープで蓋を密着する。 Keep overspray from getting into the bay, seal with double adhesive tape. |
 |
コックピット内部や前脚格納部などをマスキング後、プライマーをスプレー。 Mask all non-painted parts, then hand-spray gray primer. |