 |
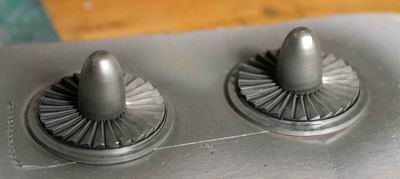
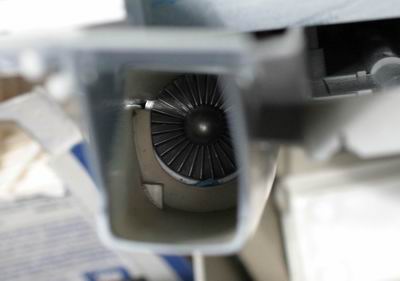
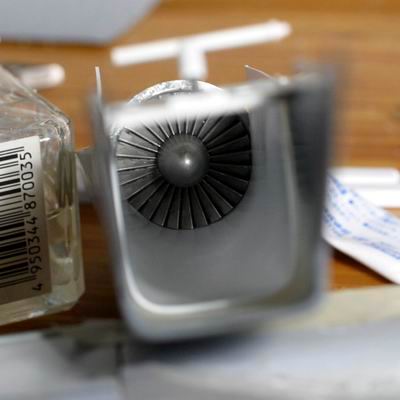
インテークのフィンはアルクラッドのアルミを吹いて、その後エナメル黒でウォッシング。 I sprayed the intake fins with Alclad Aluminum and then applied a wash of enamel black. |
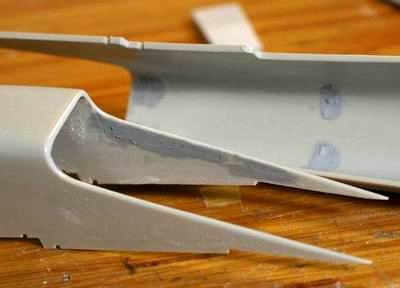 |
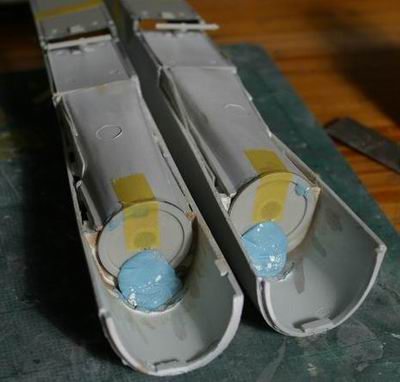
ますはピン跡を消す。パテを盛ってやする。 First I removed the pin marks, filling them with putty. |
 |
実はこの工程は無意味な作業となってしまった。作り直すことになるが、色の塗り分けの参考として、、 まずは白をエアーブラシ。その後マスキングをしてから308番をエアーブラシ。 Actually this process was in vein because I repainted the area later. Nevertheless, the painting method was identical, so I describe it here. First, I sprayed white first and then masked to spray Creous Mr. Color 308(FS36375). |
 |
その後、エナメル黒でウォッシングしてから、エナメルのニュートラルグレイとフラットアースを混ぜたものを薄くエアースブラシして使用感を出す。 After spraying, I applied a wash of enamel black. I mixed enamel Neutral Grey and Flat Earth. This mixture I sprayed into the corners of the inlet ducts. |
 |
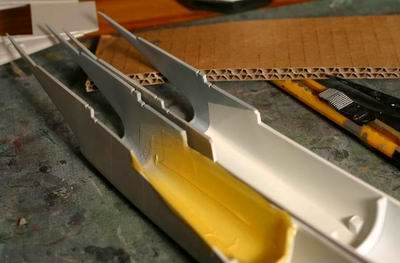
空気制御板も同様に塗装。 I used the same method for the airflow regulator panels. |
 |
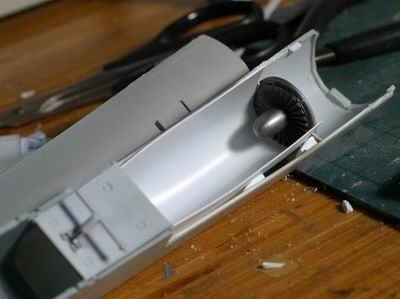
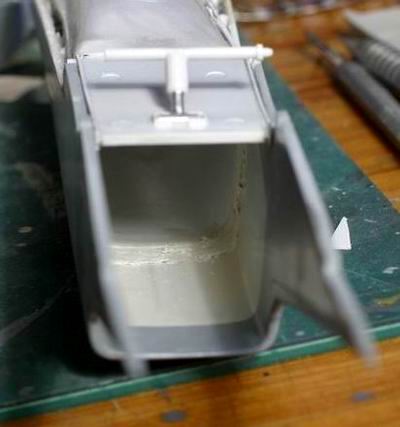
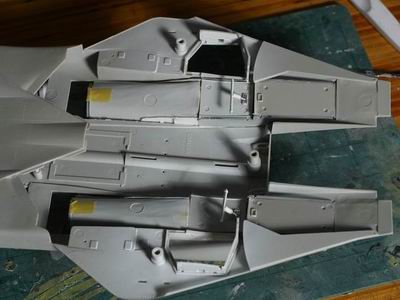
組み上げてびっくり、 なんだこの醜さは!32分の1ゆえ、インテーク内部はよく見える部分である。実物どおりに絞り込むことに決定。 I was so surprised when I assemble these. The whole thing was butt ugly!! This is a 1/32 kit, so they are patently visible. Therefore I decided to scratch-build the interior of the inlets. |
 |
せっかく塗装したが、この部分をカット。 Regrettably, I had to remove the previously carefully finished parts. |
 |
プラ板を敷き詰めるための土台を設置。 First I made a base from Evergreen plastics. |
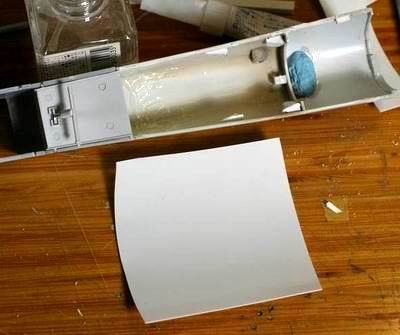 |
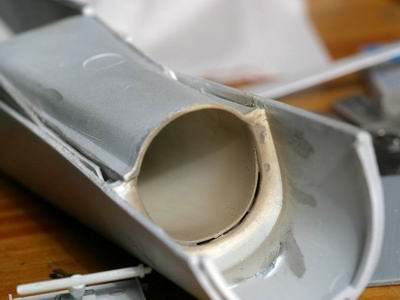
0.5mmのプラ板をまるめて、敷き詰める。 Then I formed some 0.5mm thick plastic board into a rounded shape. |
 |
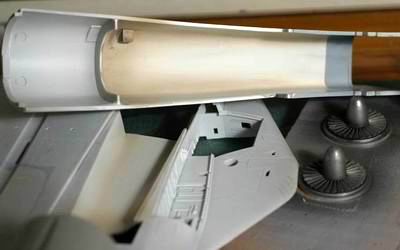
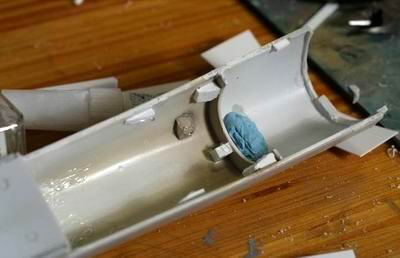
こんな感じ。 And put it inside the inlet duct, like so. |
 |
正目から見てもなかなかいける。 It looks OK viewed from the front. |
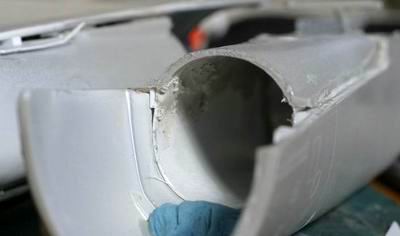 |
切り取った上蓋を接着し、上下の不連続をなくし、まるく削り込むようにパテを盛る。 I reglued the covers and puttied the seams. After the putty dried, I sanded it as smooth as possible. |
 |
前縁部もパテを盛り修正。 I sealed the front seam with putty. |
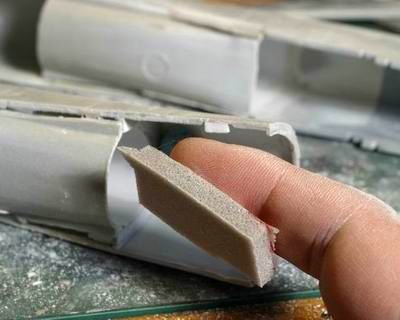 |
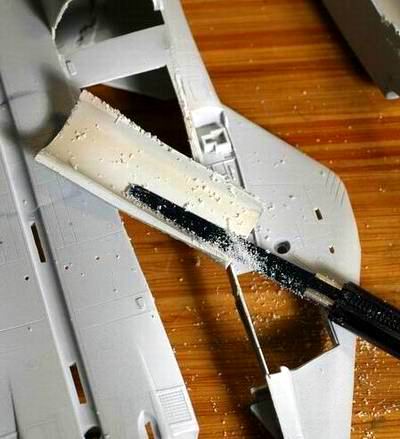
パテを削るにはスポンジやすりを両面テープで指に貼り、削ると効果的。 To sand, I attached a sanding sponge to double-sided adhesive tape. It's very easy to sand in round and tight spaces with such a tool. |
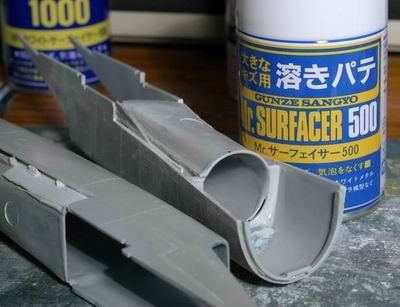 |
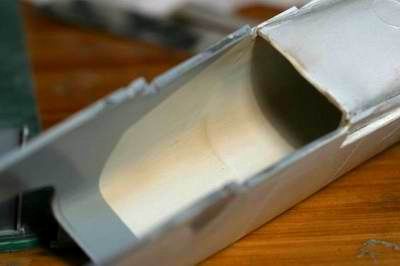
最後は溶きパテスプレイでなめらかに。 After sanding. I sprayed Mr.Surfacer 500. This is a liquid putty rather than primer. |
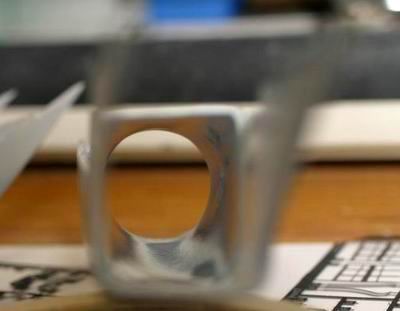 |
修正後の絞込み。 There! Much better. |
 |
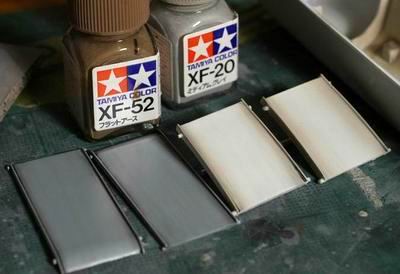
塗装は白のサーフェサーを吹き、グランプリホワイトをエアーブラシ。エナメル黒でウォッシング後に上記の茶色をフィン近くと角部分に薄く吹いてできあがり。 I sprayed white primer and then sprayed Grand Prix white. Then I applied a wash of enamel black. Finally I sprayed a mixed brown enamel to the edges. |
 |
白の部分にマスキングして308をスプレイして、 I masked the white area and sprayed Mr. Color 308 over the remaining surface. Then I carried out the same weathering procedures as above. |
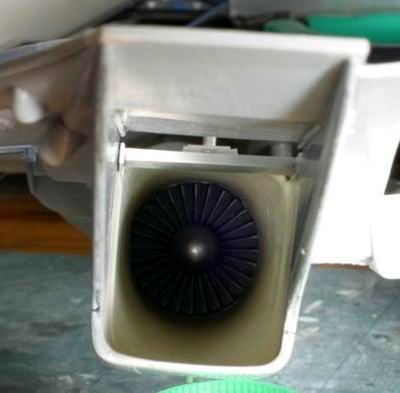 |
完成! Completed! |
 |
ぐらつかないように硬化粘土で固定し、瞬間接着剤などを流し込む。 To prevent movement, I put "fun tack"and poured instant glue around the seam to fix the duct firmly. |
 |
フィンを固定していたマスキングテープもそのまま接着剤で固定。 I also glud the masking tape used for securing the inlet fins in place. |