 |
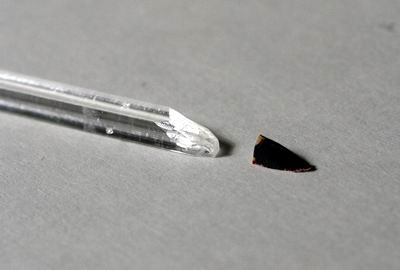
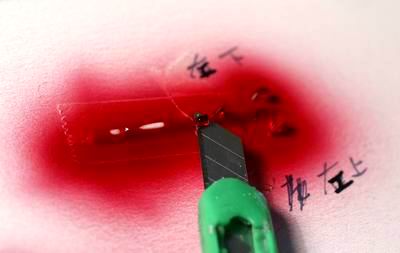
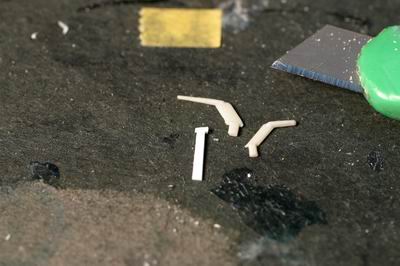
ライトは透明アクリル棒から整形する。切り取った見本と見比べながら、カッターで荒削り。 Make lights from clear acrylic bar. Shape with cutter knife by referring to the original shape. |
 |
サンドペーパーで形を整えていく。 Then shape with sand paper. |
 |
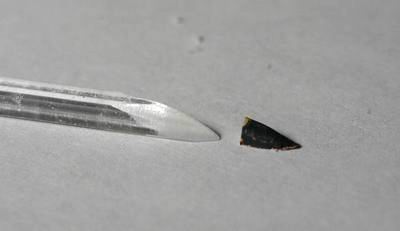
最後はコンパウンドで磨けばご覧の通り。 Finally grind with compound. |
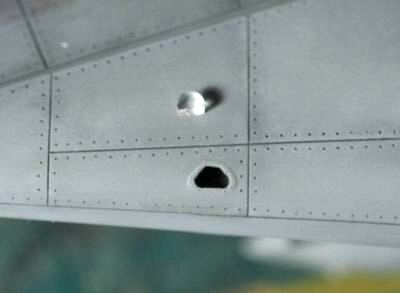 |
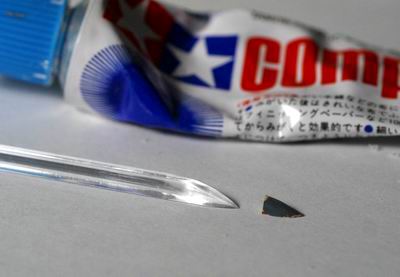
この形は整形がめんどくさかったので半円で代用。隙間はエナメルクリアで埋めた。 I could not make this shape, so I put half round instead. I will pour clear enamel in afterwards. |
 |
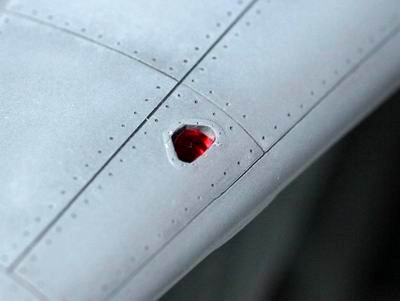
Mr.rカラーのクリアをスプレー。 Spray Mr. Color clear red. It's lacquer paint. |
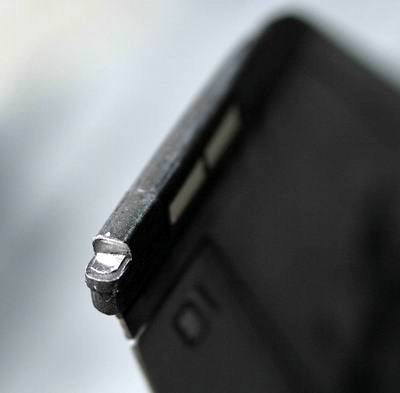 |
銀紙をおいて、 Put aluminum foil. |
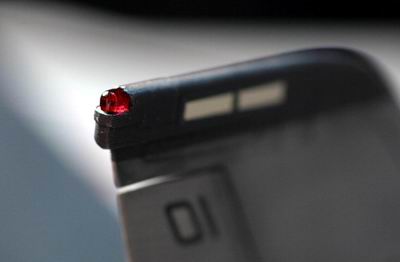 |
透明パーツを置くとよく光る。 Put clear parts on it. It shines very nicely. |
 |
こんな感じ。 Like this. |
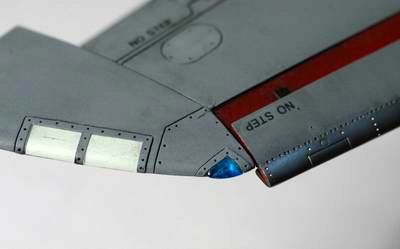 |
ブルー。 How about blue? |
 |
この上にエナメルクリアをたっぷりのせる。 Pour a small amount of clear enamel in here. |
 |
センサー類はアルクラッドのスチールを塗装。 Spray Alclad steel. I scratch built one sensor. |
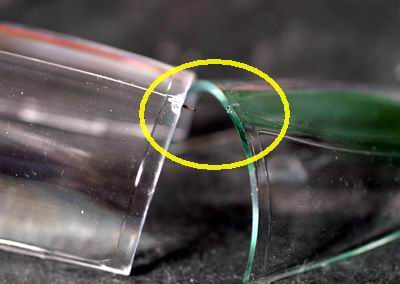 |
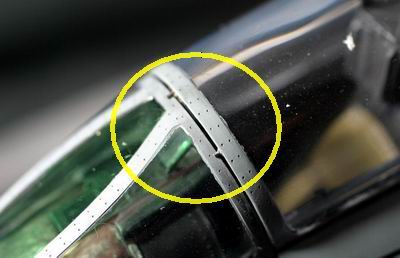
キャノピは前部で接着するより、後部のはめ込みを切り落として、前部はブラス棒によるつら合わせをし、後部で接着した方がきれいに仕上がった。 I choose another method instead of gluing the canopy at the front as shown in the instruction. I cut off the end insertion parts and make holes for wiring at the surface of front. I put three pins for joints. I believe I got a nice level surface with this method . |
 |
はめ込み部分の工作。 Here are 3 pins. |
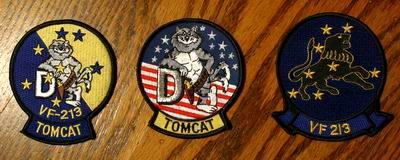 |
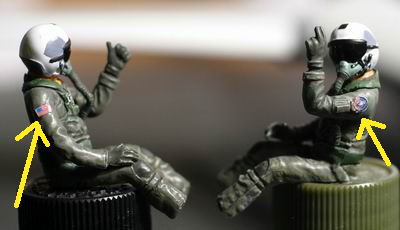
パイロットの肩のパッチは本物を写真にとって、縮小し、カラープリンターで印刷して貼り付ける。 For patches on the shoulders of the figures, I took a digital photo of actual patches and then reduce the size and print it. |
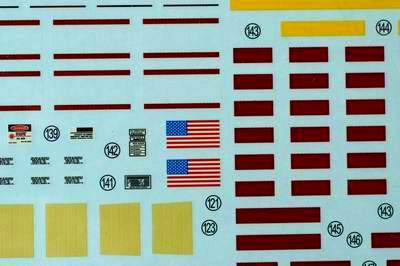 |
国旗はデカールを写真に撮って縮小してプリントした。 For the American flag, scan decals and reduced the size and then print it out and glue it. |
 |
こご覧の通り。 おわり Like this. END |